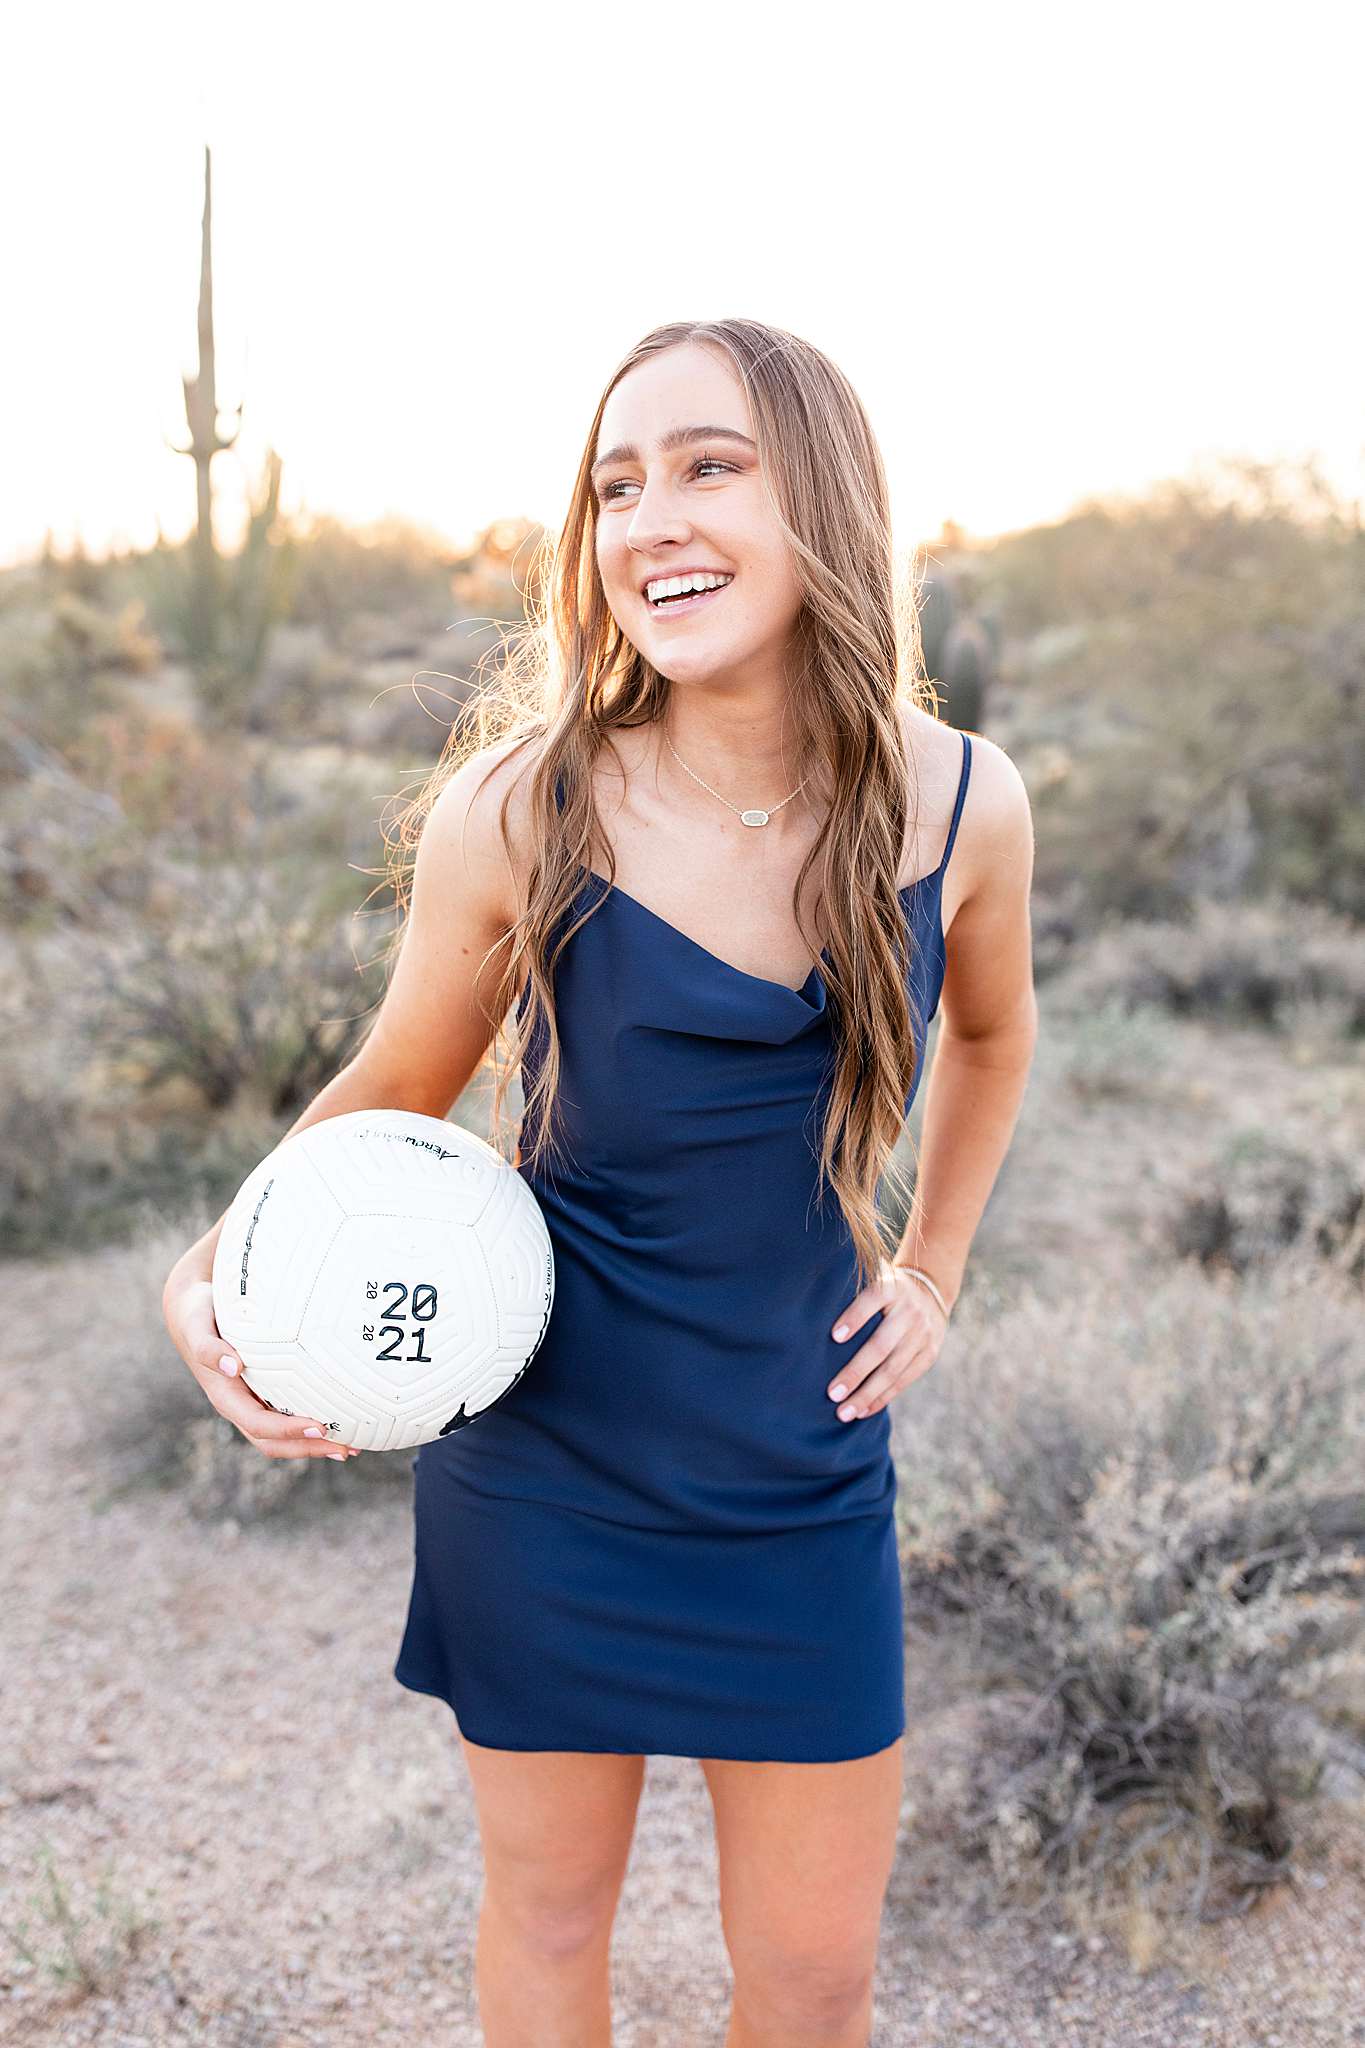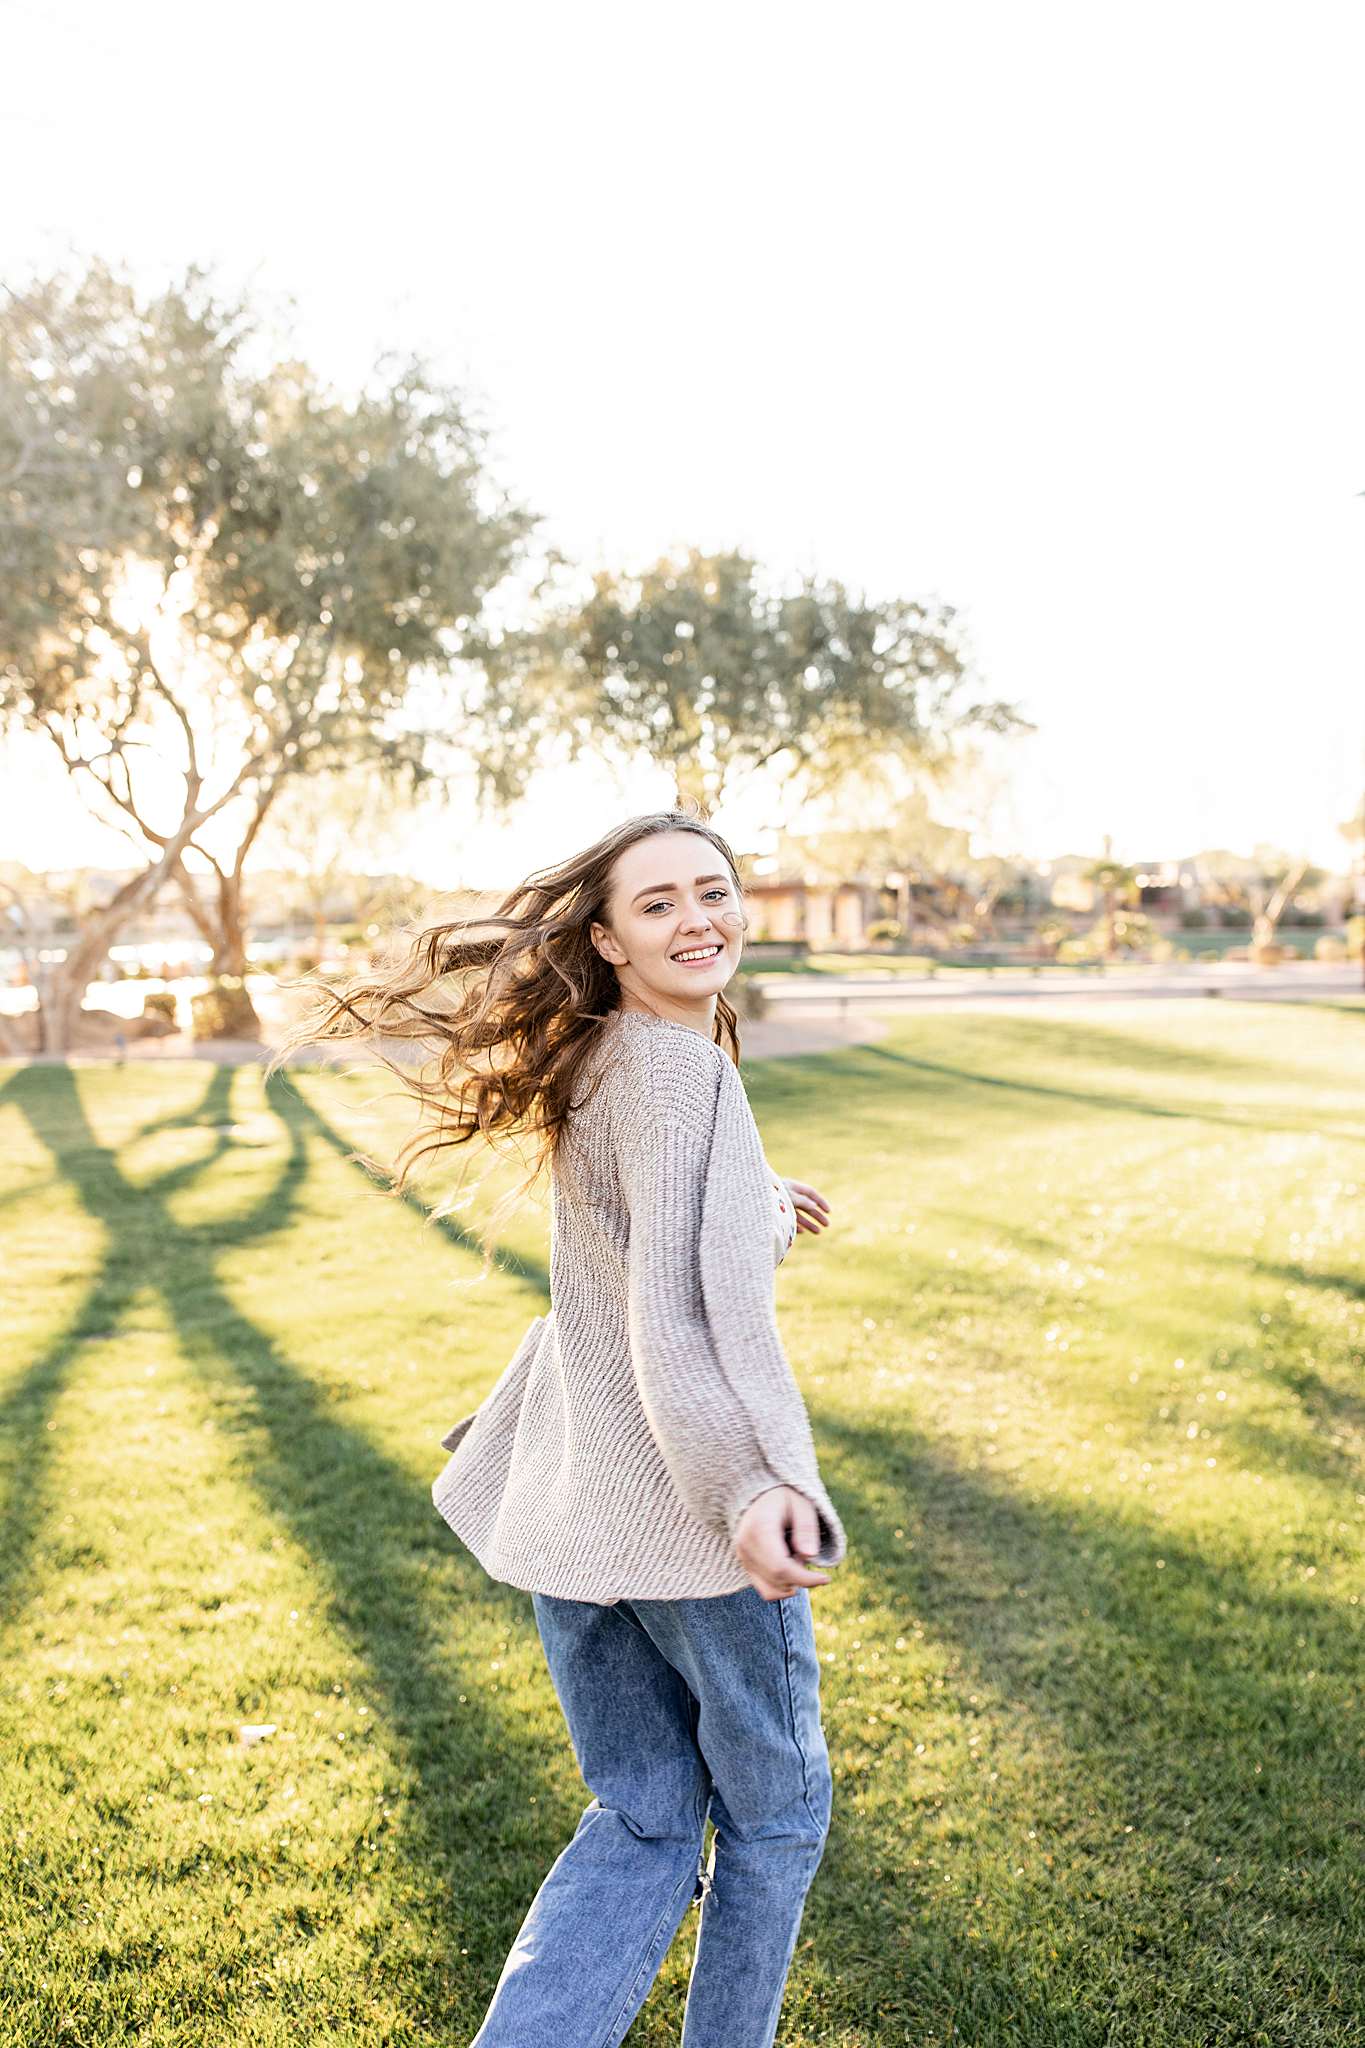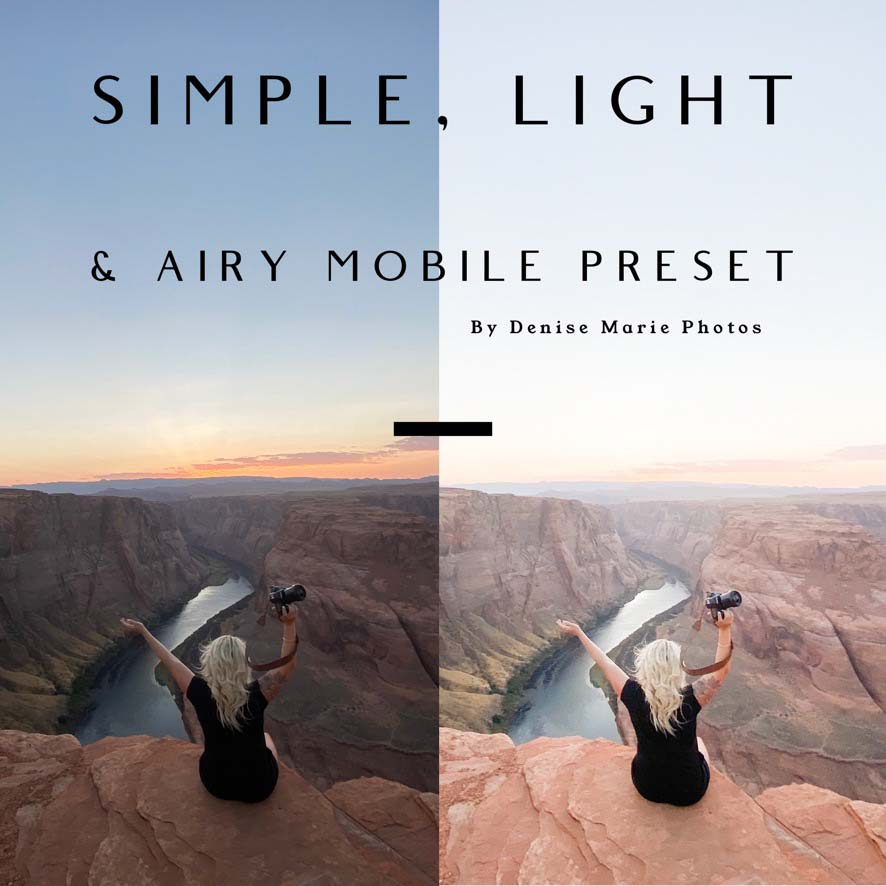
This blog will teach you how to download your new Simple, Light & Airy Mobile Presets to Lightroom Mobile! You can do this all from your phone and apply your preset with one click!
**Do NOT be worried if the photo shows up as a grey square in your photos app. Follow the steps the same exact way and trust the process! ;)**
If you already have the desktop version of Lightroom, you can simply sync the preset between mobile & desktop!
Step One: Download Your Presets
Your presets will come in a DNG format. There are three of them so they are in a zip file. First, we need to unzip that file.
You can unzip this file on your computer or to unzip it on your phone
OPTION A (easiest)
Download the Lightroom Mobile App.
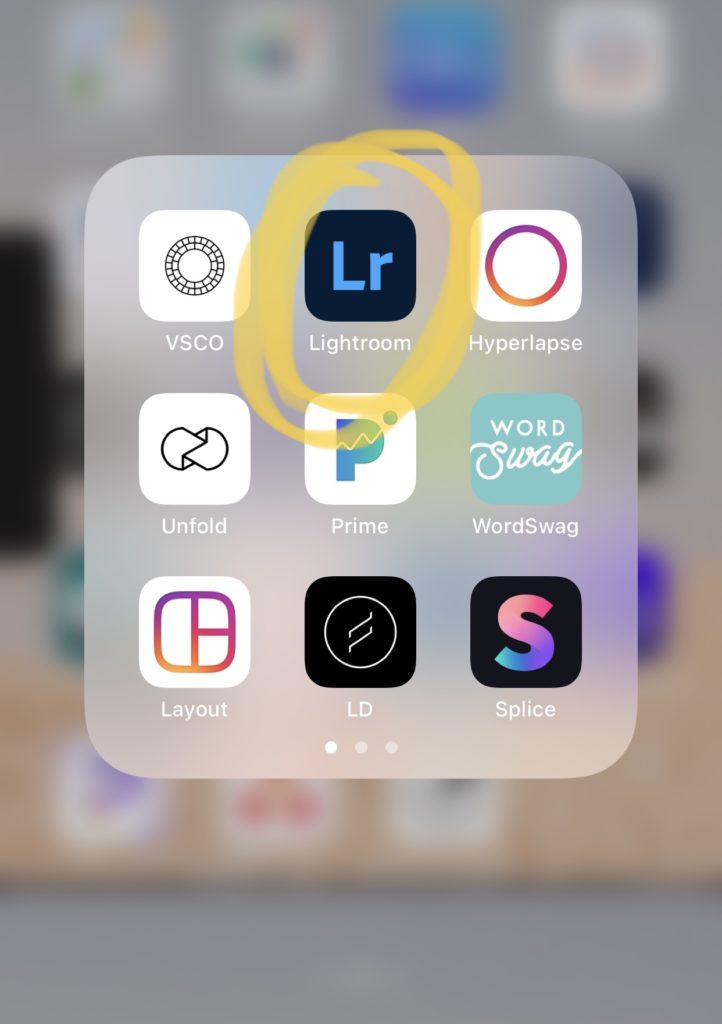
Click the download link in your email.
It will open up a page that looks like this. Tap on the cloud to begin downloading! 🙂
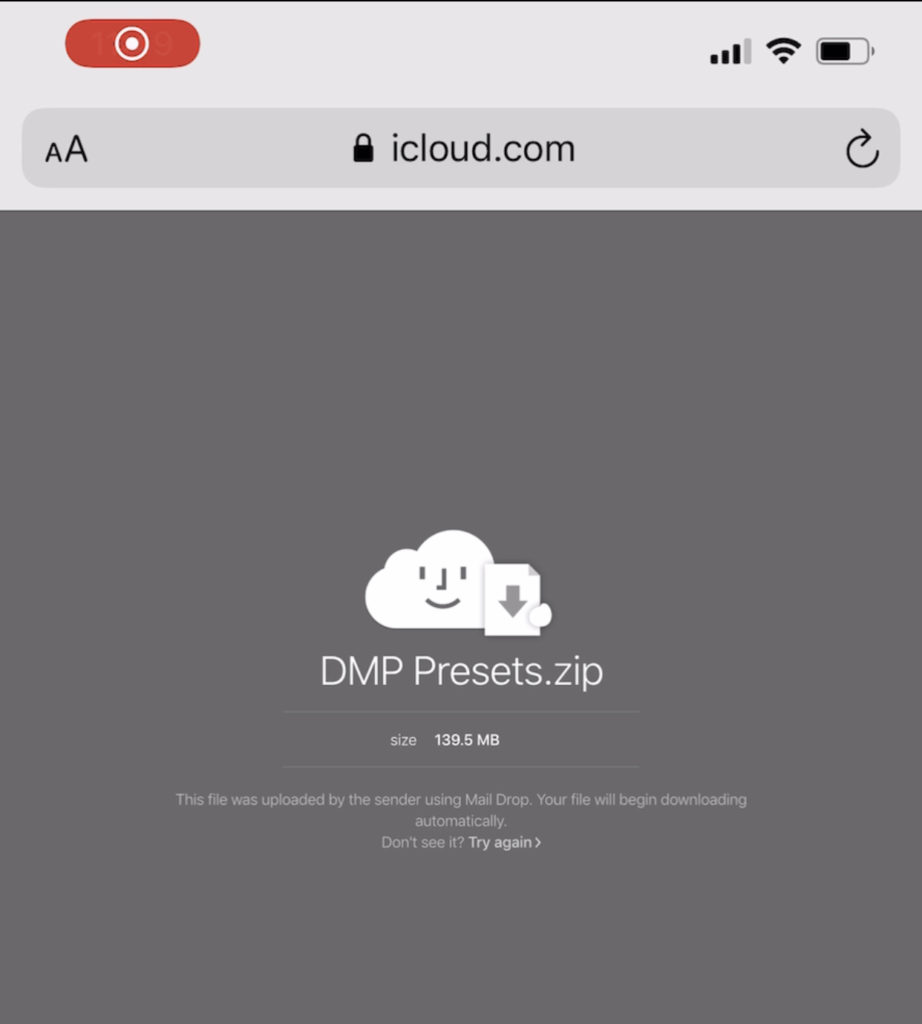
If this pops up, tap download.
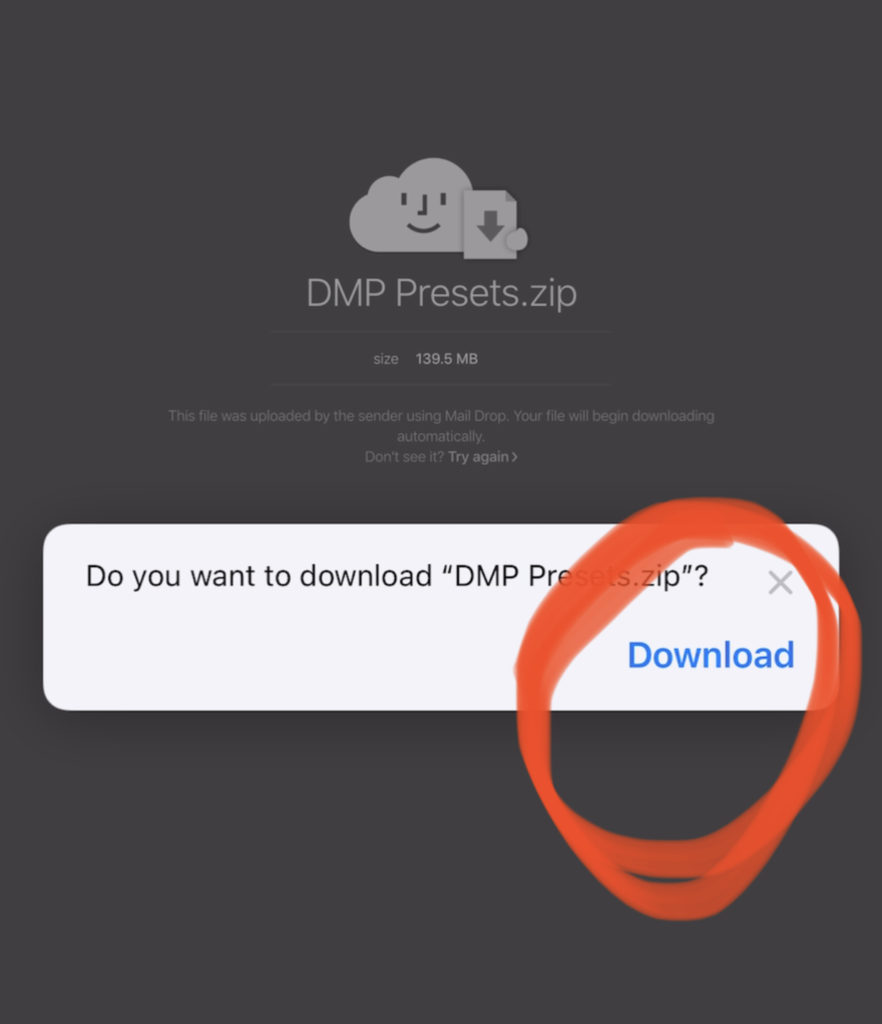
You will then see the download progress in the top right hand corner.
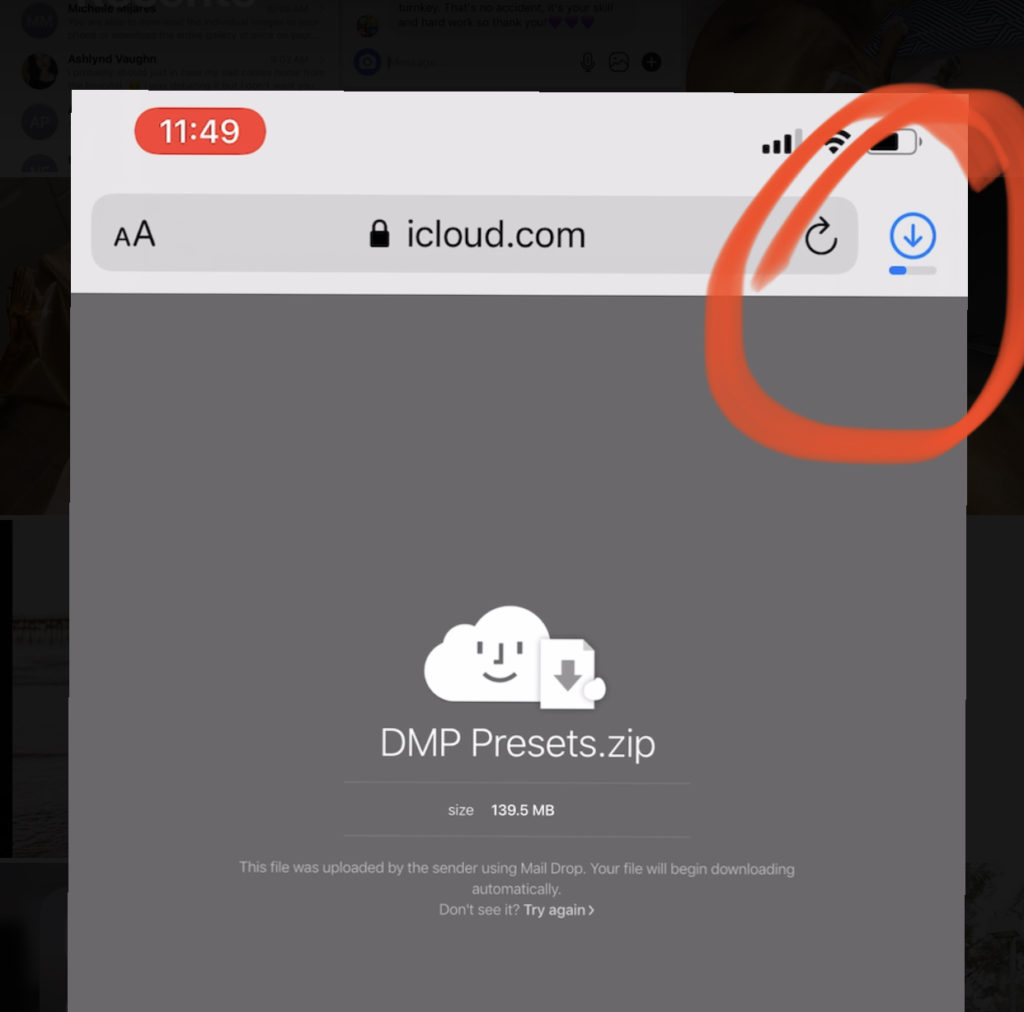
Tap the Zip file to unzip it.
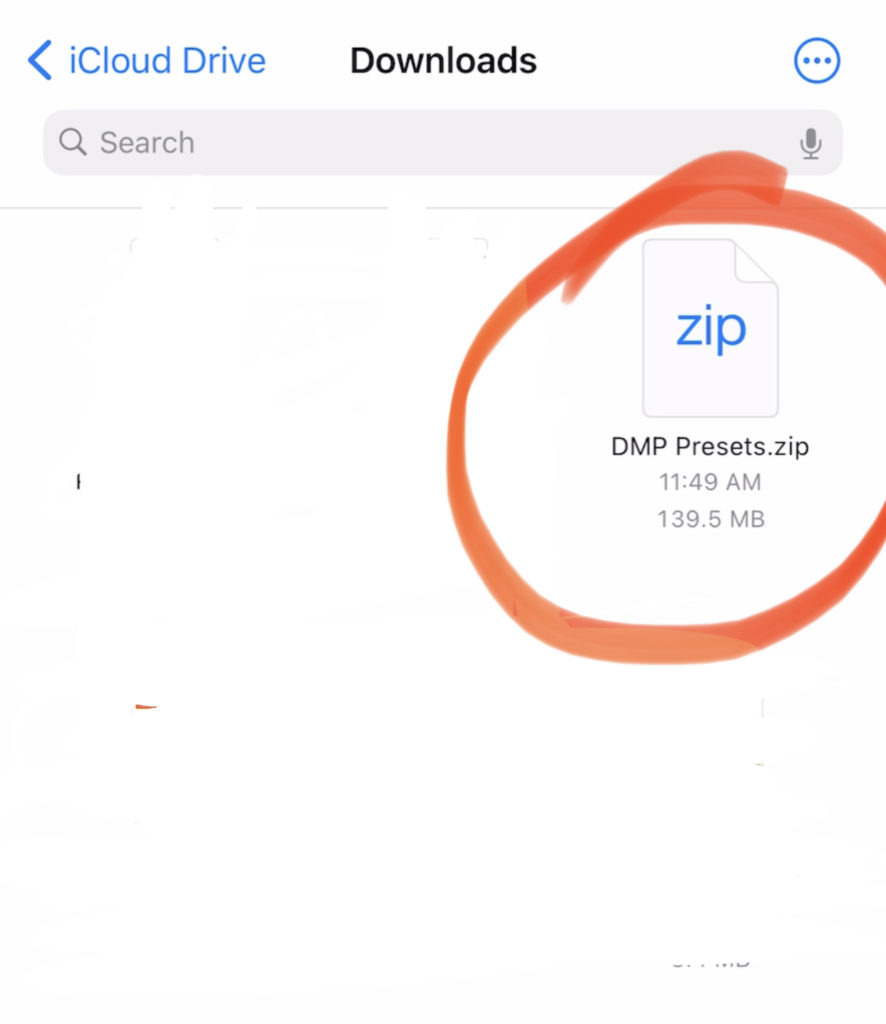
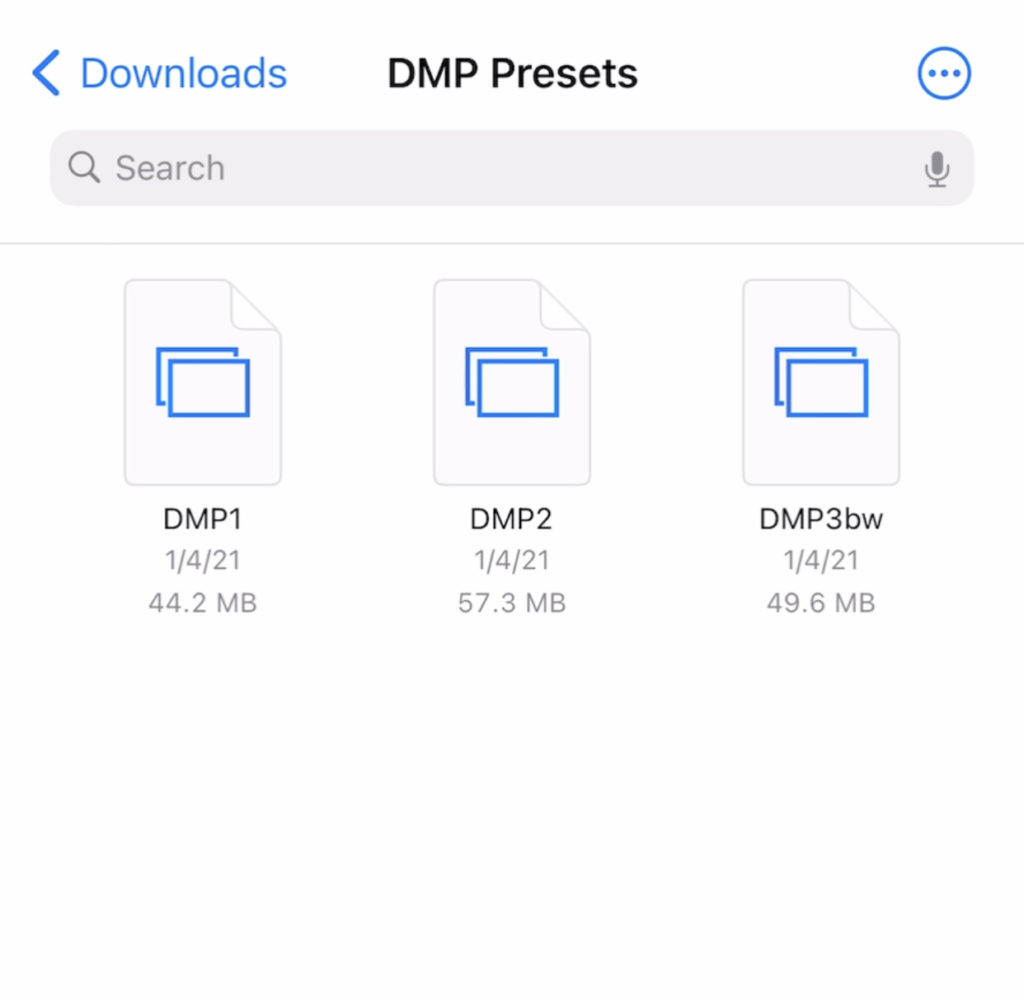
Tap the folder “DMP Presets”
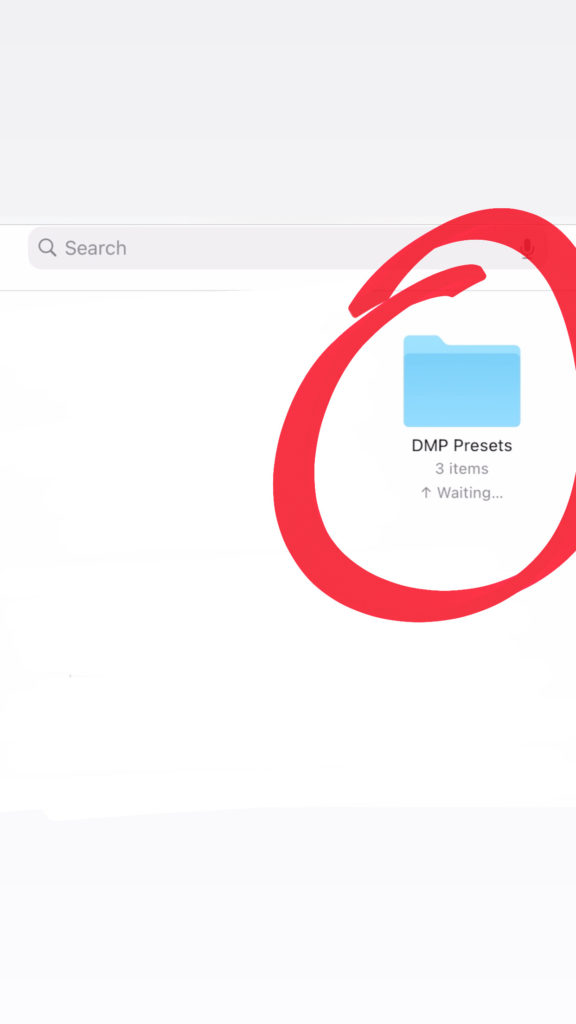
Save each DNG file to your photos. And you’re ready to import them into Lightroom!
OPTION B
Download the app iZip. It looks like this:
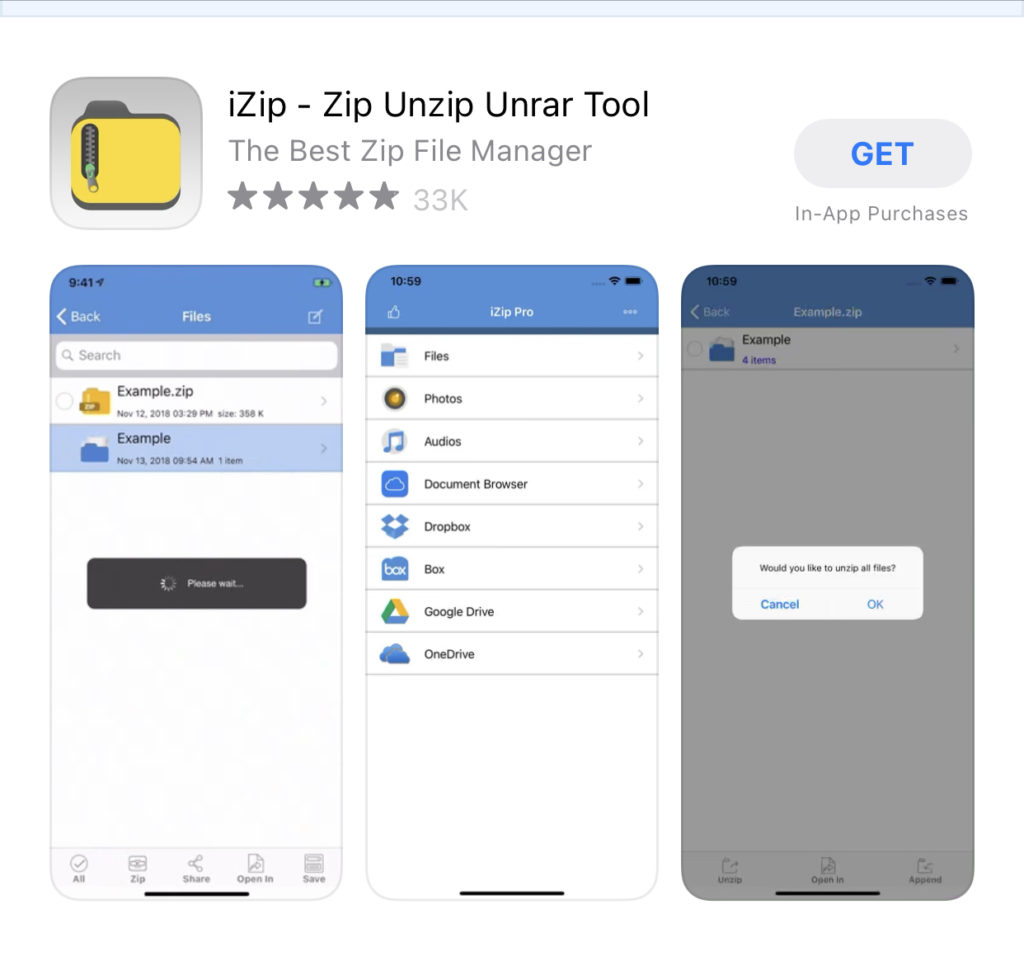
Download this app and then click to download the file and tap on “Open in iZip”
Now all of your DNG files are in iZip! Super easy 🙂 Next, we’re going to head to the Lightroom Mobile app and import these files!
Step Two: Import DNG files into Lightroom Mobile
Okay, so you should have all of your DNG files saved to your phone, either in your camera roll or in the iZip app. These files contain the presets. Think of the files as the tupperware and the preset is the food. 😉 Now, we just need to add the files to Lightroom mobile and save them as a new preset!
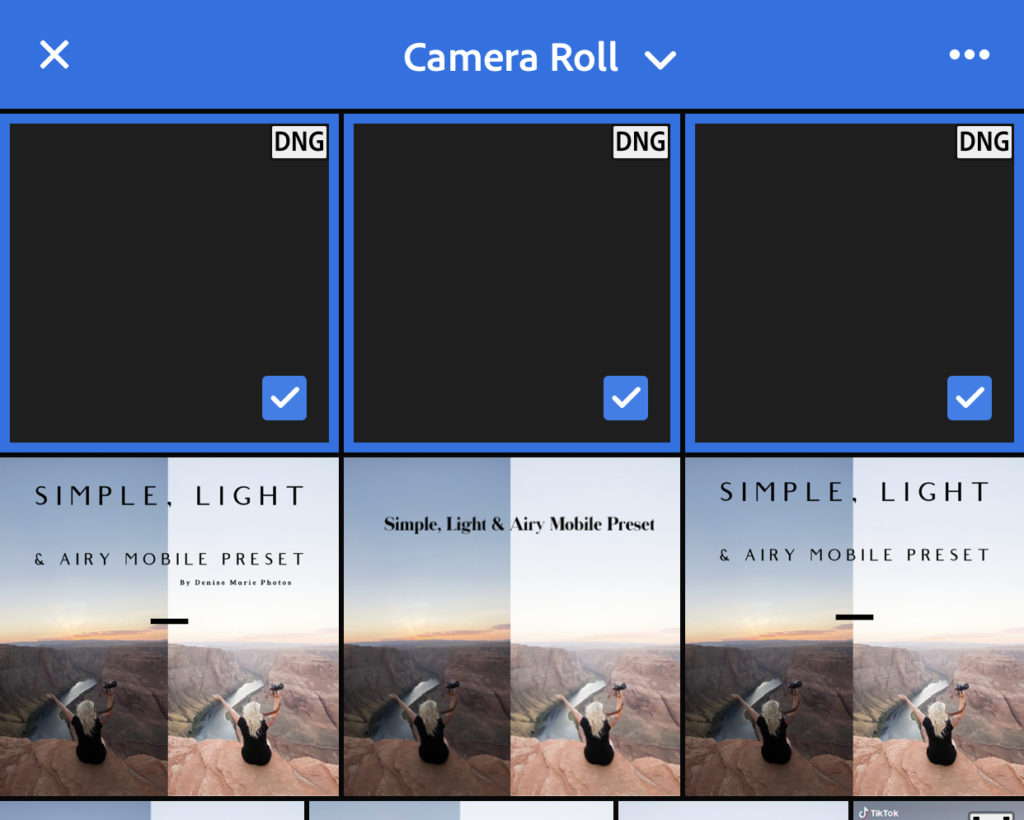
Again, if you go into your photo app and see them as blank picture files, IT IS OKAY! This is how they should look right now.
Open up Lightroom mobile and tap the “add photos” button in the lower right hand corner.
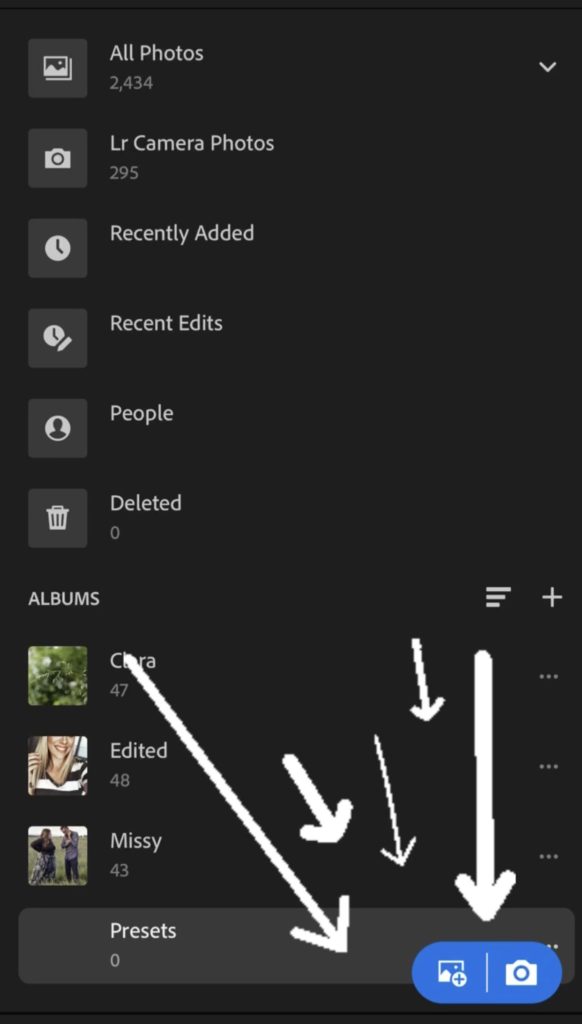
If you downloaded your DNG files with iZip, select From Files and then navigate to the iZip files. If you downloaded them directly to your camera roll, select From Camera Roll.
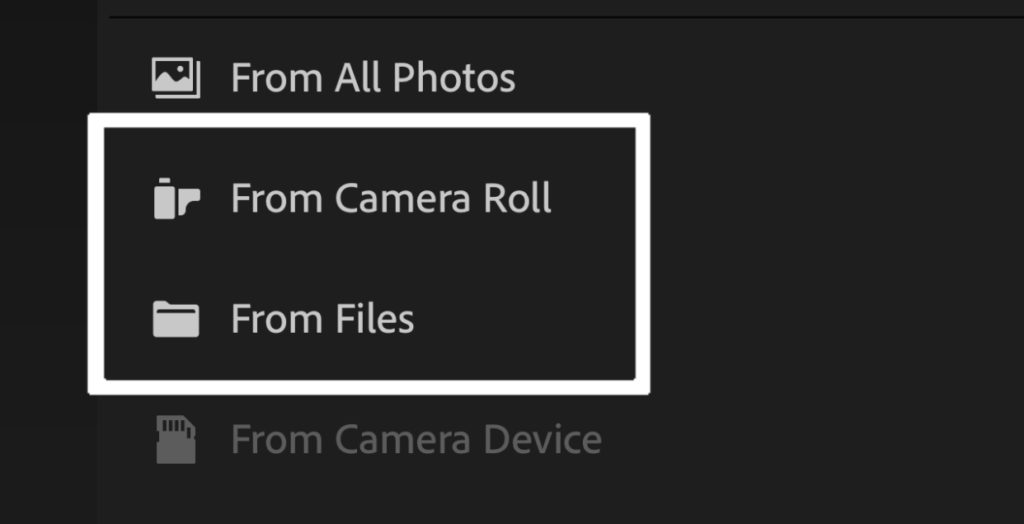
Next, you’re going to select the DNG preset files from your camera roll (or from iZip) and then click “add” in the bottom right hand corner.
Step Three: Save Settings As Presets!
Yay!!! You’re almost there! At this point, you should have all of your files imported into Lightroom! Locate the files and open one of them inside of the Lightroom app.
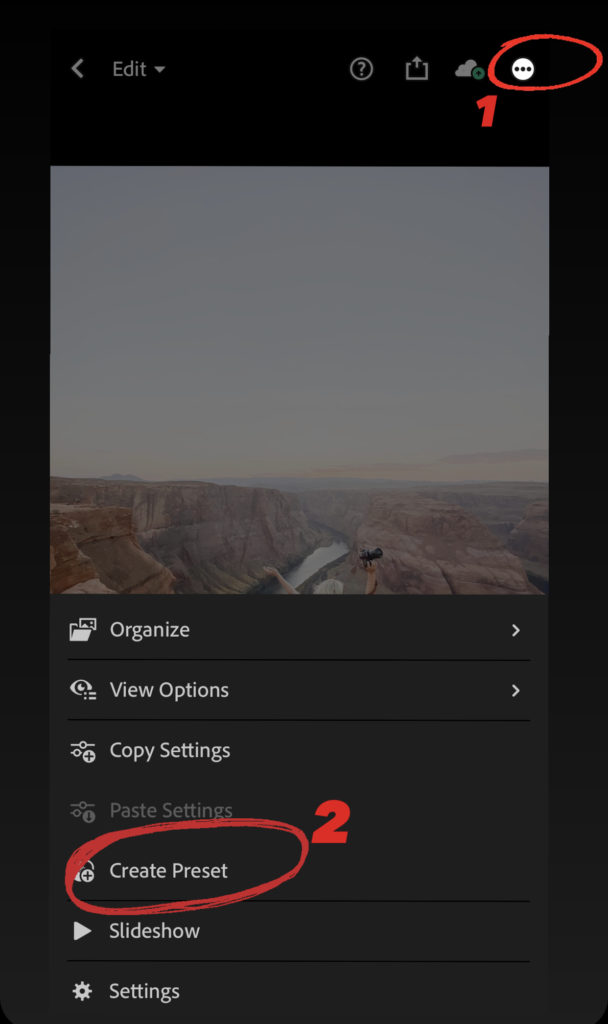
First, you’re going to tap on the three dots icon at the top right of the screen and then tap on Create Preset at the bottom.
Now you will see the New Preset screen which contains the options you can use to customize your preset. I highly recommend naming your presets so that you can keep track of them! You also have the option to create preset groups if you have a lot of presets.
Here is a screenshot of how I save my presets. I leave Tools, Optics & Geometry unchecked. (which should be the default settings) I do this because the crop on an image is never the same, so by not checking these boxes, we are not applying the same crop to every photo.
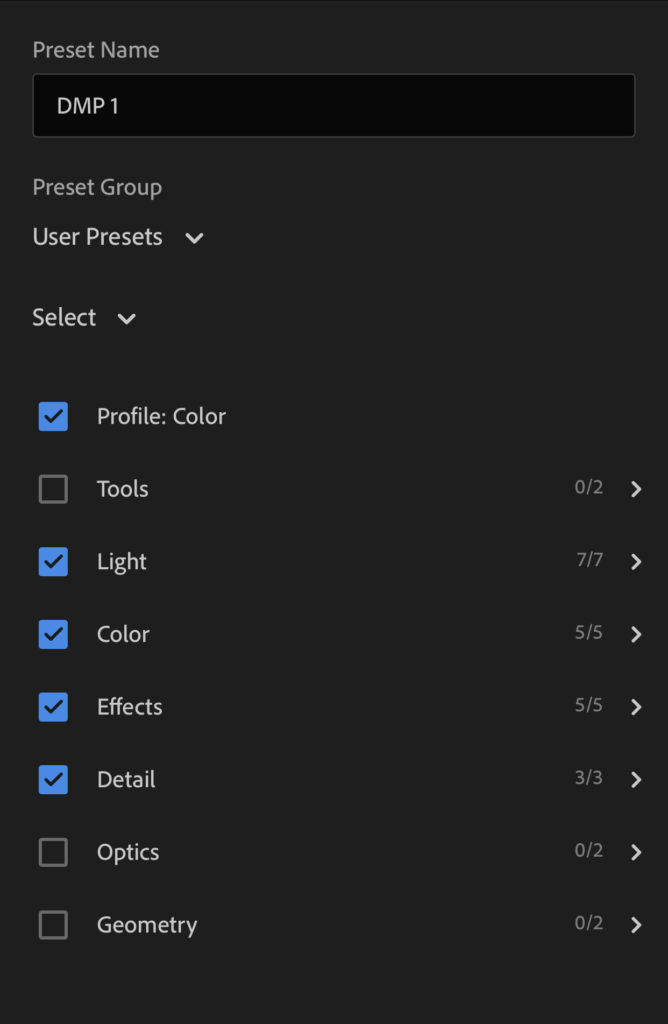
Click the checkmark in the top right hand corner and your preset is saved!! When you go to edit your photos you will see a preset option on the bottom menu bar. Click that and you will see “DMP 1” (or whatever you named your presets).
Repeat this step for each DNG files because you need to save each preset separately. After each preset is saved, you’re good to go from here on out!
Step Four: Putting Your Presets To Use!
To use your new presets you are going to import any image that you’d like to edit. Tap the presets icon in the bottom menu and choose which preset you’d like to apply to your photo.
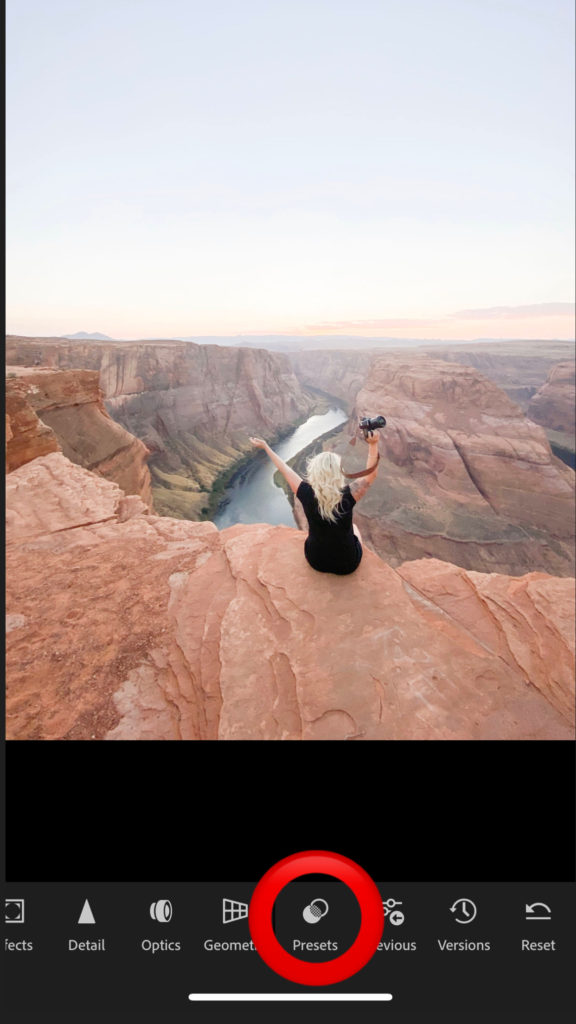
I tried really hard to create a preset that needed little (if any) tweaks at all. The main two things you will find yourself adjusting is “Exposure” which is under the “Light” menu. And “Temp” which is under the “Color” menu.
Below is a link to a video that will show me importing, editing and adjusting images. 🙂
Thank you SO much for purchasing my presets and supporting my small business. It means more to me than you could EVER know!
